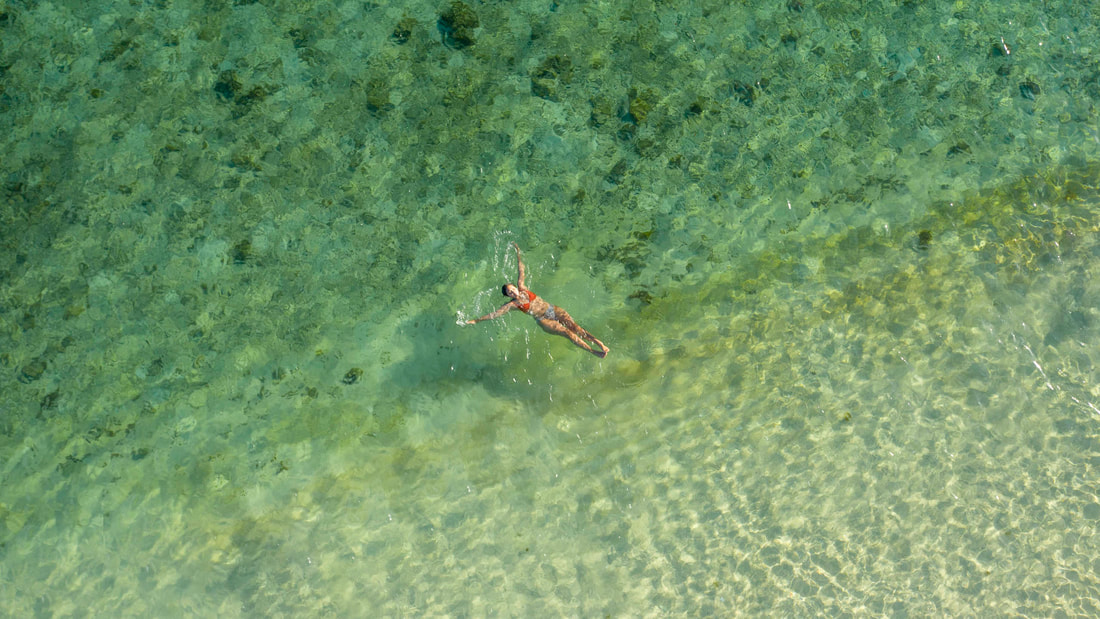
 Taking photos with your drone can be a fun and cost effective way to capture stunning aerial drone photos. Whether you are taking photos for marketing purposes, photos for real estate, capturing an event or any other reason. Here are some of my best tips and tricks for photography with drones.
1. Learn To Fly Your drone. Before you even think about taking photos, learn to fly your drone so you’re a legit drone pilot. A DJI Mavic Pro 3 will be different to a DJI Mini 4 and then a DJI Inspire 3 will behave even more different, so take time to practice basic manoeuvres and limitations with your drone. Learn how to control altitude, speed, how input on each stick will affect other axes of movement and become familiar with the multiple flight modes. I have crashed enough drones in my time, so you can learn from my mistakes and not make the same one! Eventually flying will become fluid and almost second nature, then you can do your thing and start focusing on photography. 2. Check You Are OK To Fly. Don’t be a peanut! Check the OK 2 Fly website to make you’re good to fly at your flight location prior putting it in the air so you won't have any nasty surprises. This website will show you any restricted and danger zones, airport locations, obstacles and hazards and no fly zones. 3. Check The Weather. Check the weather before flying, mate!!! This is vital. Don’t fly in strong wind, heavy rain or extreme weather conditions. UAV Forecast, Windy.com and Willy Weather are a few of the amazing tools I use. Check the wind speed, rain, cloud cover and number of satellites you can expect to lock on to. If it's too windy, you compromise your shots with increased chance of camera shake and movement. 4. Try Different Angles and Composition. Try different angles and heights. Top down shots, side angle shots and low-angle shots add some depth to your portfolio. I find the lower shots look the best, just out of arms height is where the sweet spot is. Experiment, play around and try something that feels unusual. Angle the camera up so it’s pointing above the horizon at your subject. Don’t just do the same stuff as everyone else. It’s boring! Follow composition principles like the rule of thirds, framing and leading lines to create good looking, balanced photos. Experiment with different kinds of shots. For example, an out of focus object in the foreground can really add that extra something to your image. Get a little lower, a little closer. Be safe of course but sometimes you gotta risk it to get the biscuit. 5. Shoot At Golden Hour. Golden hour, the sweet spot just before sunset and just after sunrise will give your shots soft warm lighting that can enhance your drone photos. Especially shadows look super impressive from the air, when they stretch out across the land. Shadows can add drama to your shots or they can tell a story of your subject or objects movement. Look for different textures in the landscape. 6. Shoot In RAW. If your drones camera supports it, shoot in RAW. Assuming you’re flying a DJI drone, the image format will be DNG. DNG files retain more data and provide flexibility in post so you can adjust colours, lighting and details. Use an editing program (more below on editing) to grade your shots and change the feel - try out a black and white filter or turn a daylight shot into dusk. 7. Edit Your Photos: Post Production is how you’ll edit and enhance your drone photos and make them your own. Add your own creative flair to your shots. Play around with filters. Use editing software to adjust colour, contrast, sharpness, and correct any imperfections. We use a combo of Adobe Lightroom Classic and Adobe Photoshop for photo editing here at Creative Kicks By following these tips and tricks, you can elevate your drone photography and capture shots that are out of the ordinary and set you apart from the rest. 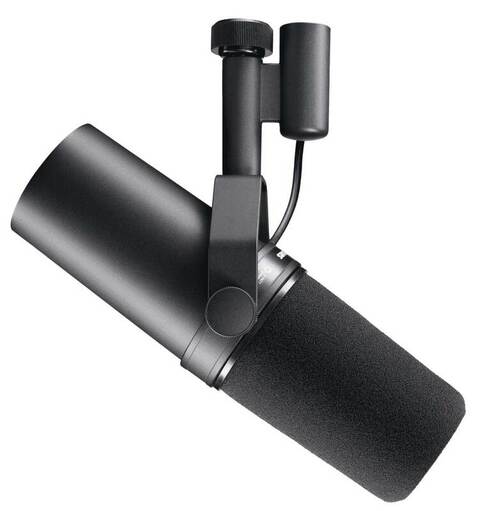 If you're in the market for Podcasting Equipment and you're stuck on which a microphone you should use for your podcast, then you should consider the Shure SM7b. A well known microphone which has been used by numerous podcasters and musicians, the SM7B is regarded as an outstanding microphone. In fact, it's possibly still the best podcast microphone in 2024 that exists.
That's the reason we've got 4 in our own audio hire inventory!! 1. It's Versatile: The SM7b is a multi-purpose microphone that can be utilised to record a wide range of sources such as recording vocals, instruments as well as podcasting. It features a large frequency response and is able to manage high levels of sound pressure which makes it ideal for recording sources with loud sounds like guitar amps and drums... and loud people.. 2. It's a Dynamic Microphone: The SM7B is a dynamic microphone. As such it requires no external power or a preamp in order to function. In turn, dynamic mics This makes it a user-friendly microphone that connects directly to mixers or an audio interface. 3. Its Great Sound : The SM7B offers a soft and warm sound, which is loved by a lot of recording engineers. It features a natural well-balanced frequency response which means it precisely recreates the original sound source. 4. It has Excellent Noise Rejection : It's a huge deal!!!! We can't always record at a studio and the SM7b is well-known for its outstanding background noise reduction. This means that it is able to be used in noisier settings with less problems capturing background sound. It is a great choice for broadcasting and podcasting. 5 Its Build Quality: The SM7b was designed to last. Solid metal construction and internal shock mount, which shields the microphone from any vibrations or dealing with noise are second to none. The result is that the microphone can endure heavy usage and will last for ages. Shure's SM7b is a superb microphone thanks to its flexibility, its high-quality design, outstanding audio quality, noise cancellation in ambient environments as well as its build quality. 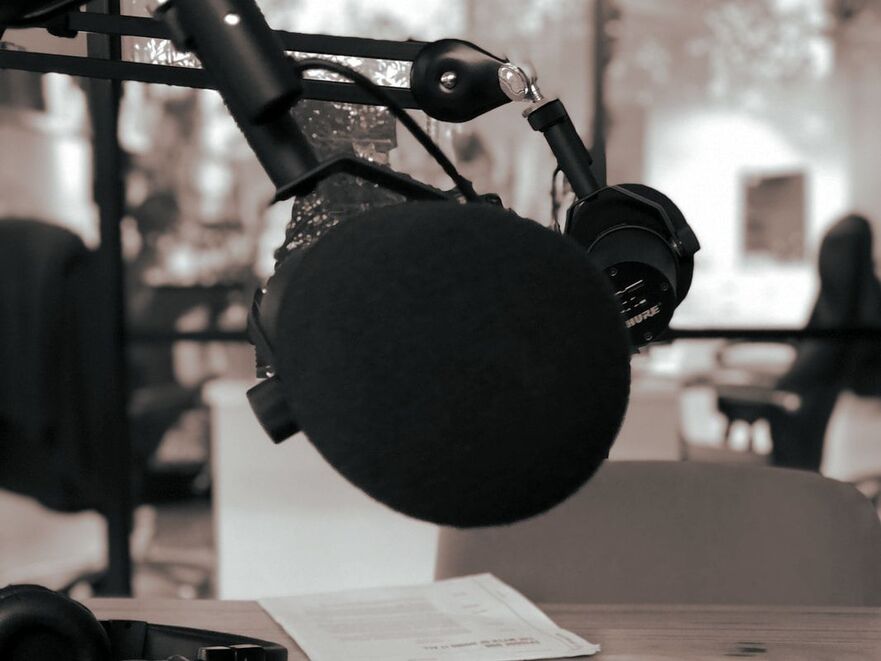 Podcasts have become hugely popular on a worldwide scale. There are over 850,000 active podcasts and over 30 million podcast episodes!!! That’s HUGE!!! While the act of starting a podcast may seem easy, there are a several skills and techniques that will make your podcast stand out from the rest. Let's take a look at how you can start your successful podcast. 1. Learn the fundamentals of basic audio recording. The first one is a biggie. Before getting stuck in, you'll need to learn some audio basics including signal flow, gain staging, how to use podcasting equipment, how to set it all up and how to use editing programs to cut your masterpiece together. If you search on youtube, you'll find there are a world of resources online where you can learn the basics. 2. Define the theme of your podcast. Name your podcast and create overviews. Research what already exists. You'll need to choose what topic you'll cover in your podcast. To compete with the masses, create a consistent intro and outro that matches your brand, maybe some music and/or sound effects for sonic branding. The name you choose will be fairly important, not just because it's your name but it will let your listeners know what you're about. Write an overview explaining what your show is about. The title should give an idea of what your show is all about, but your overview will tell a little bit more about what people can expect, for example: "Every week I will talk to one of the leading photographers in the industry to share their story" or "Every week I will give you a quick overview of what it takes to become a professional photographer". 3. Record your podcast. Once you've figured out your topic and you have your basic audio knowledge downpat, it’s time to record your podcast (which I'll cover in my next few posts). If this is your first podcast, you don't really need anything fancy; you can even use your smartphone to record yourself if that’s all you have. To level up in quality, an audio recorder and mixer such as the Rodecaster Pro II is a high quality option, a microphone we hire and recommend for podcasts is the SM7b, a quiet space and a laptop is all you’ll need. Once you get serious, you can invest money in a full studio set up, but while you're starting it's best to test the waters without dropping big bucks. Alternatively, if you wanted to try out the idea, hiring podcast recording equipment is a cost effective way to get your ideas recorded. 4. Edit your podcast. The next step is to edit what you've recorded. This step is cleaning up background noise, editing out sections you want removed, adding in your intro, outro, sound effects, music... and whatever else you'd like to add to make it yours. I use and love Logic Pro X as a die hard Mac nerd but for a free alternative available on all platforms, check out Audacity. 5. Release your podcast to the world. Now all you need is listeners to find your podcast. Once it's all edited together, export your audio files as high quality MP3 or WAV files and upload them to the website or a podcast host of your choice to make them accessible to listeners. You can submit your podcasts to platforms such as Podbean or Beansprout who will host and distribute it to all the major players, such as Spotify and iTunes. That's pretty much it! If you feel like you're not ready to take that step to produce and edit your own podcast, you can outsource the work to an expert. A great podcast production company will assist you with all of the above, and supply files ready for upload. Keep in mind, like any aspect of marketing, learning how to create a podcast is something you have to invest time and effort in to become good. Keep at it and remember it's all a learning process. If you have any questions, or want some advice feel free to get in contact with Mike for a chat. |
AuthorMike Jaballah - Archives
February 2024
Categories
All
|
 RSS Feed
|
Patrick Studios
Studio 22, 4/40 Green Street, Windsor. Victoria. 3181 (By Appointment Only) |
Creative Kicks acknowledges and pays our respects to the Boon Wurrung people, the traditional custodians and First People of the land on which we live, love and play.
© 2024 Good Boy Creative Production PTY LTD | Terms and conditions | Privacy Policy | Sitemap